Sunday, 31 October 2010

Busy Weekend But Still Defeated


Well after two busy days working on the car, this evening I have decided that I just cant wait until next weekend to look into it further so its going to the garage to get fixed.

I had a complete power failure a week ago and the car would no longer start and it turned out that the head gasket had gone between the first and second cylinder (the photo shows the gasket upside down.

So that was replaced along with the rocker gasket and the inlet/exhaust gasket.
As the coolant had been flushed I also filled it with Holts Speedflush ready to fix it further the next day.
I took the car for a quick drive as per the Speedflush instructions but when I arrived back home the coolant was boiling. Hmmm?

The next day the coolant was flushed and replaced with proper coolant. The water pump was checked by removing the fan and the pump from the housing to check it turned okay. The thermostat was tested by putting it in water and heated to check it opens at the desired temp (around 82degrees C) I also replaced the thermostat gasket at the same time. While the fan was off I changed the fanbelt which turned out that the old belt was only ever so slightly stretched compared to the new one but still it's changed now.

So then the radiator was flushed through with clean water, re-fitted and filled with coolant mixed 2 parts water, 1 part coolant. The coolant was Halfords Silicate (IAT) type which is the preferred type of coolant over organic acid technology (OAT) coolant which is no good for older cars.

Next on the list, replace the points and condenser. These are both straight forward, simply two screws to take the old out and new put in its place. The screw that holds down the points is what is used to set the points gap, with the red part (in my photo) of the points pointing at one of the high points of the rotor, slide the points so that the gap opens and using feeler gauges the gap is set to 0.015" and the screw is tightened.

Next on the hit list was to change the spark plugs. The replacement plugs that I bought were NGK's where as the ones currently fitted were Champion.
Obviously changing spark plugs is straight forward just make sure you use a spark plug socket as you don't want to damage them. So out came 4, 3, 2 and, wait there. I cant get into one because of the alternator. So that had to be slackened off again and the fan belt taken off the alternator pulley so I can slide it out of the way and access is gained. Surprise surprise the plug in 1 is an NGK, it would seem a previous owner/mechanic couldn't be bothered to go through that little bit of work to replace plug 1.

So now that all of that was done I started the car and all was hunky dory apart from a little water getting out of the pipe that connects that thermostat housing to the top of the radiator, no problems, to the box of spares that came with the car.

Now to reap the rewards and take the car out for a drive. No more than a 3 mile run as I wasn't sure I was even going to get back as the car had no power at all. Once back I tried to re-start so I could use my shiny new stroboscopic timing light to adjust the timing but it wouldn't start. Maybe doing it statically first? So I tried to crack the car by hand but it wasn't moving due to the compression, so out came the plugs again and I managed to turn it but couldn't see the mark so I got an assistant to turn the car over to turn the wheel a bit quicker and hopefully see it. At this point I was shot at from cylinder 4 what turned out to be coolant in the cylinder, bad news.

At that point I decided to give up, I'll be calling the garage tomorrow and hopefully get it collected.

With any look the water wont have been compressed and snapped a con rod but either way watch this space.

Thursday, 21 October 2010

Replacement Starter Motor


After the AA call out, being a few hours late for work and not wanting to drive around in the other half car which has flowers on the side I decided to replace the starter motor on the Spitfire when I returned from work.
I already had a second hand starter motor which I had ordered previously from Dave at Spitfire Graveyard. I bought this when the car wouldn't start previously but started eventually with a jump. By time I was home it was cold and plenty dark but I was already committed, this job was getting done.

Car pulled under the security light and wrapped up warm I was ready to go.
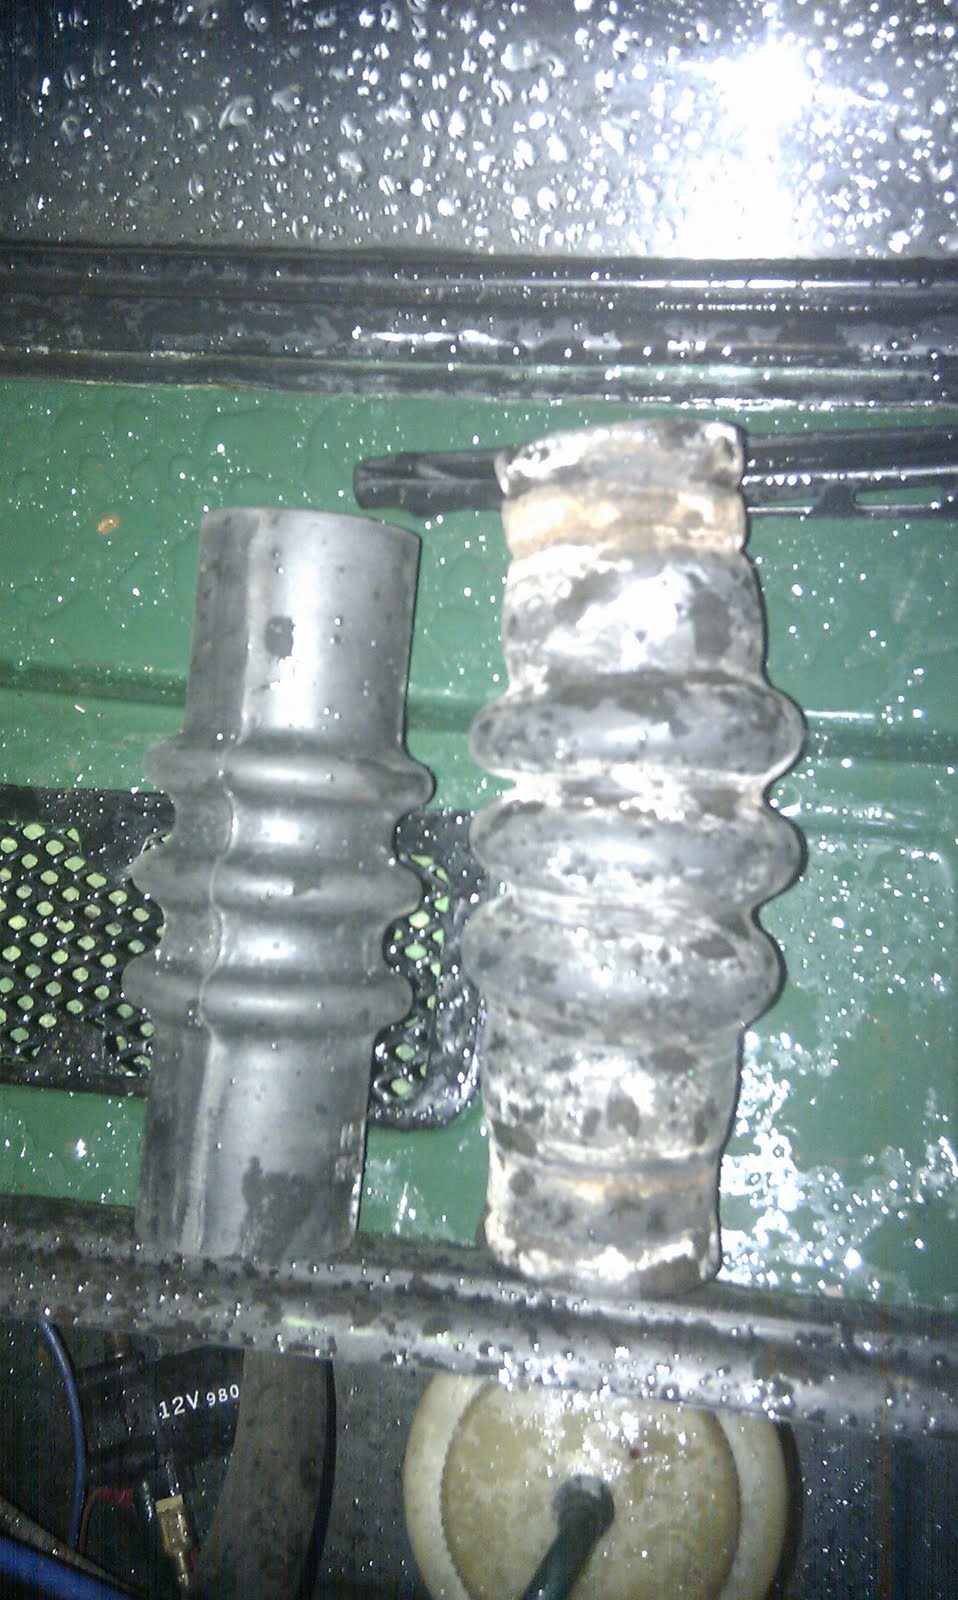
I unbolted the top bolt, relay wire, removed the aluminium engine guard to access the bottom bolt and as soon as that was off the starter was ready to come straight out. As you can see from the pic the two look a bit different but my brain was so frozen I thought nothing of it. Offering the new motor up to the engine it was to small! I was not happy. Straight inside E-mail to Dave to ask how to have the "mix up" corrected as soon as possible. When I went back out I had a closer look and realized mine had a fitting spacer that obviously came off and fixed the problem. Oops, now to send a rather embarrassed E-mail to ignore my previous one.

The real test came this morning when I tried to start the car in the cold. It fired straight away with no issues and the car seems to run a bit quieter strangely.


Success, now onto the next item on the list.

It would seem I spoke too soon, about a mile away from home the engine started ticking/knocking then as I pulled up it spewed coolant. I've been told a few things to check so will have to get on that one at the weekend.

Wednesday, 20 October 2010

Hello Winter

Well the cold hit hard and as a shock this morning, as a result the Spit didn't want to start. After lots of trying I gave up and called the AA.
An hour later the car was going but I was told the timing could do with checking, the starter motor and battery replacing even though the battery checks out as good. Luckily I bought a starter motor a few week ago.
Stay tuned
Published with Blogger-droid v1.6.3

Friday, 1 October 2010

New Overflow Hose & Headunit


Granted the update is a day late but better late than never.

Whilst getting some clips for the fuel line hose for the fuel pressure regulator (not yet fitted) I thought I would get some hose and cli
ps to replace that washing machine cold water pipe. Straight forward fit with removing the old, cutting to the same size and re-fitting with jubilee clips. The hardest part was cutting the hose with a Stanley knife blade that was as blunt as a spoon.

I'm sure you'll agree it looks alot better


The car came with a cassette player fitted. Now I could survive with this as it has radio and also and aux input so I could have hooked my phone up to play music. The only problem was, if I was going to have something retro, I would want the standard headunit that came fitted with the car.
After a half hearted search for an original headunit I gave up and went straight to the shop to get a headunit. Nothing flash as there's no point in having Bluetooth connection if you can't hear it over the engine noise.

Fitting was a piece of cake as the wires were already in place for the previous headunit so I just cut them and wired in my new ISO adaptor.
As you can see I had to use the plastic 'face plate' that the old one used as the opening is slightly bigger than a single DIN headunit. I can probably tidy this up a bit better at a latter date aswell as find a better way to have it secured in place.
The next projects for the audio will be to fit 4 13cm speakers, 2 to replace the ones in the rear side panels and 2 to install in the rear panel. The other project is to replace the aerial as the one currently fitted doesn't slide away and so has to be unscrewed every time the cover is getting put on.

Wednesday, 29 September 2010

Fixing Leaking Carbs & Fitting Temperature Sender

Finally some progress, the post finally came today and with it my SU HS42 carb overhaul kit, replacement temperature sender and fuel pressure regulator (not yet fitted.)

So out to work in the rain I go. I took the carbs off so that I could take them inside to work in the dry and warm. After taking the top half and all of the insides out of the first carb in order to replace the jet I realised on the second that none of that was necessary and all I have to do was take it out of the bottom.

I considered simply changing the washer an seals on the existing jets however as the washer and seals were so tightly fitted to the new jets I didn't want to disturb them.


After all was put back together and checked there didnt seem to be any leaks which is always a nice thing, installing the fuel pressure regulator should also help keep it this way for a while but I will have to get some extra fuel line before I do that.

Im sure you will agree they look nice and clean compared to the old ones.


Whilst dirty and under the bonnet I thought I would install the replacement temperature sender. Obviously this on looks alot more like the standard fitted one and miles more like it than the oil pressure sensor I was previously sent.


2 minutes later and it was installed, another job done.

Another thing for me to fix as you can see in the photo to the right is the blue overflow pipe from the rocker to the carb's. Yes your right it is cold water feed pipe from a washing machine. Needless to say that wont be on much longer.

Tuesday, 28 September 2010

Another Day, Another Job Not Completed

After starting with the best intentions even though the weather was a bit grim it dried by the afternoon so a coolant change was on the cards. In short this never happened, I decided to tackle the leading carb. After a closer look it seemed the carb was leaking from the bottom of the main jet where the pipe connects to the float bowel. Aluminum engine shield removed and a little touch on the pipe showed it had nothing holding it in apart from good will. It seems it wasn't catching the seal.
I took apart the other side to check how it went together but looking at that seal it looked very worn also. Not an issue you would think, apart from my carb kit hasn't come so I have no seals. Hopefully tomorrow it will arrive so I can get on.

On the upside I did fit my cover for the first time. More details of that later.
Published with Blogger-droid v1.6.0

Monday, 27 September 2010

More To Add To The List


Well it should be sorted with the temperature sender, it should be coming out in the post tomorrow, and I get to keep the oil pressure switch!

On the downside, after cleaning the float bowl I still have fuel coming out of one of the bowls, rather annoying really so that's to fix. I have been advised that my fuel pump looks like a replacement (not sure what the previous owners have fitted) so I have ordered an adjustable fuel pressure regulator to try and drop the pressure from 6-8psi to 1.5-2.5psi. Hopefully this will fix the problem.
The second thing is that the front left caliper seems to be binding a bit so I've ordered some caliper seals to replace when I replace the wheel cylinders and master cylinder seals.